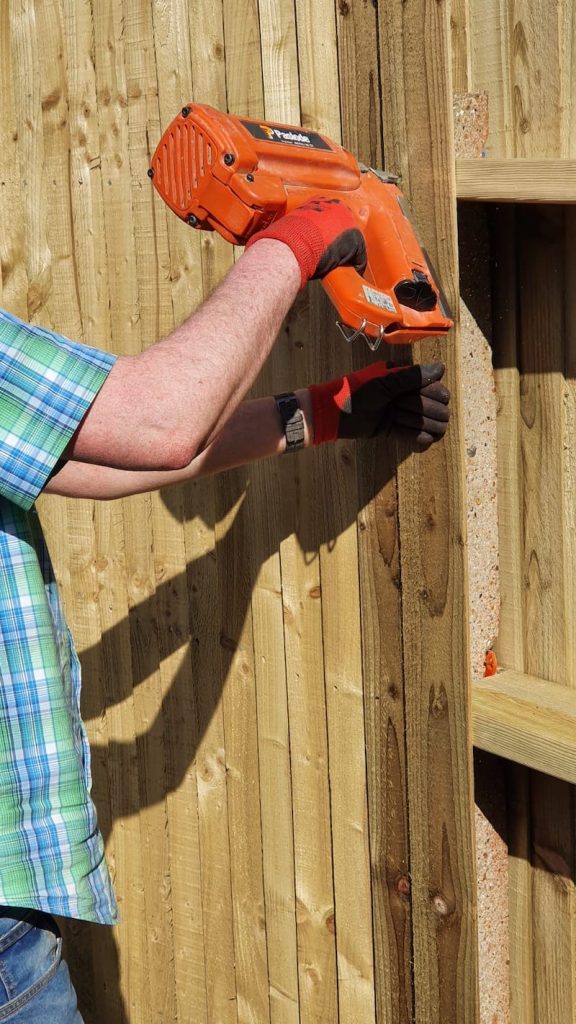
Could you ever have believed how easy it would end up to put a picture frame together with almost no damage but a pin prick to the timber? Most water based primers fill these tiny holes to the point there is practically no making good bar a caulk gun. This applies to architrave, skirting, window boards, fence panels, and almost any second fix you can think of.
How to use a cordless nail gun
Using a cordless nail gun is almost no different to using an air compressor, you just have far more freedom without the big clang of the compressor engine and constricting air hose. Funnily enough, I had a Paslode gun about fifteen year ago but the big problem was the fact you needed batteries charged and compressed gas. The nails themselves, and you really ddid need to clean out your Paslode or it was a right sod over time.
Now, I just pull a 23 gauge or 18 gauge cordless nailer out the box, throw in a Makita 18v battery, load my pin length of choice and fire away. Technology in tools has moved on so far you can literally get 1st fix cordless nail guns slamming in 90-100mm framing nails. However, in this little how to we will focus on 2nd fix cordless nail guns firing standard length pins from 25-50mm. You need your pin gun of choice, I am using two in this tutorial the Makita DPT353Z Pin Nailer and the Makita DBN500ZJ Brad Nailer which are in my opinion the best cordless nail guns on the market at the moment. I am sure DeWalt enthusiasts will completely disagree though by the end of this how to you’ll have a good feel for what you want and can expect from a nail gun.
How to load a nail gun?
First things first. You need to load your brad gun or pin nail with the right length pins. Are you working anywhere near glass or anything that could break from firing a pin too long? Put your goggles on and make sure you fire off a couple of rounds to ensure you have entirely removed any longer nails from the chamber.
Notice I say put your goggles on. I don’t often go on about health and safety but I’ve seen pins hit knots and curl around. This is the one tool I take very seriously with regards to eye safety. One rogue pin will end your perfect eye sight on this planet. Just don’t let that happen to you. Whilst I don’t know anyone with an eye missing from a pin gun, I also don’t know anyone using the nailer all day that doesn’t wear a pair of goggles! That should tell you everything.
Undo the spring release clip, drop in your brads, it’s completely obvious which way round these go, if its a headless pin nailer then there will be handy arrows to make sure you know which way to fire. Here’s a look at that.
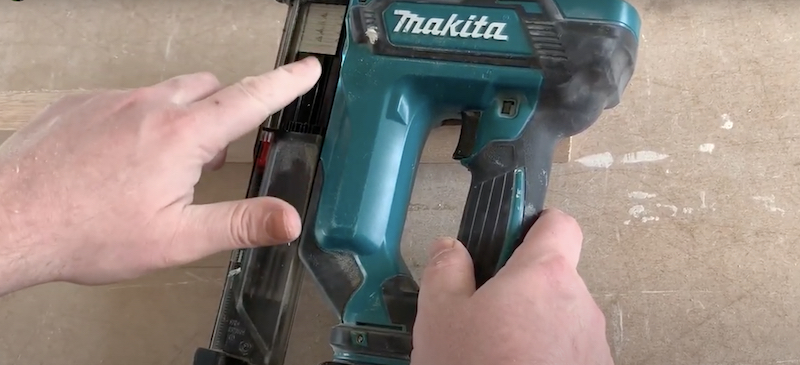
Make sure they are pushed in and then send your clip back up steadily. Don’t slam it hard closed as I do on site, sometimes the brads pop out and the pins break up making reloading really annoying! Instead slowly push up with even pressure until it clips into place. You can see what I mean if you watch my short but to the point video on how to load and fire a pin gun below.
How to fire your pin gun?
Pin guns are not at all difficult to fire off. Firstly load your pins as we discussed above. Pop on your goggles, then fit the battery into place. You have two locks. The first one is a legitimate switch lock which needs to be disengaged for the machine to work at all. Here’s a picture of that:
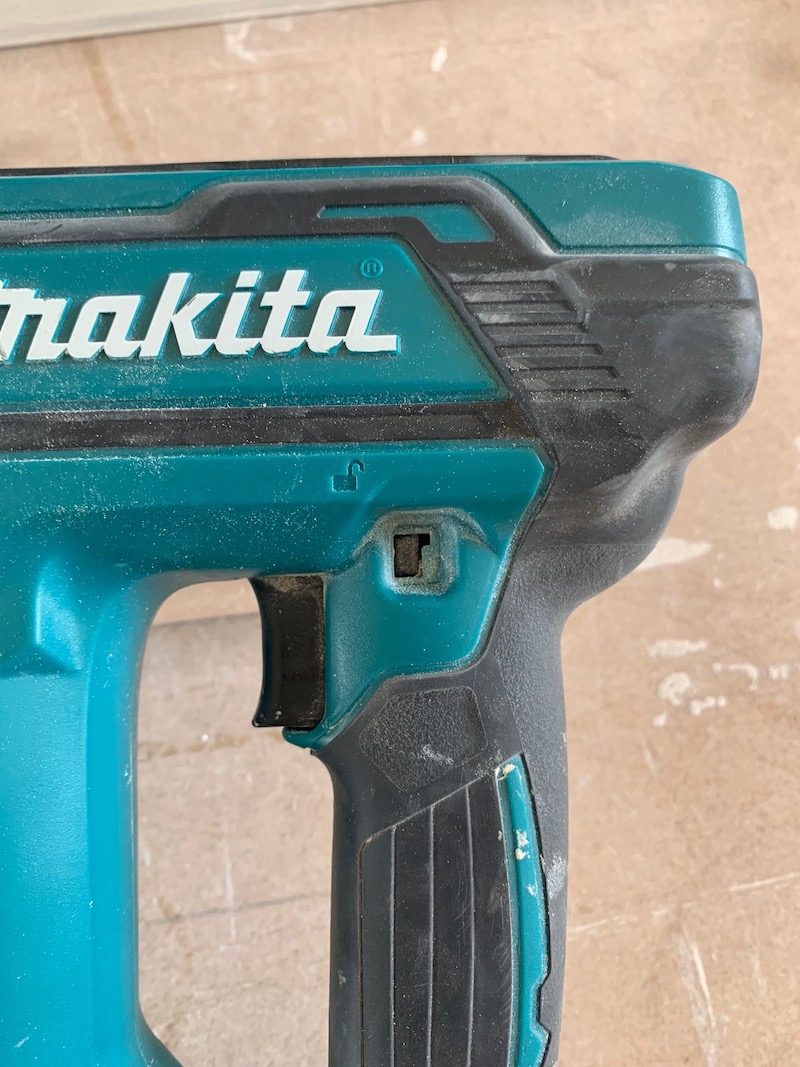
The next is the actual safety switch that needs to be engaged in order to fire your gun. You engage and release the safety by pressing into the timber. This sends the barrel forward and allows the trigger to be pressed. Makita did a brilliant job of making this gun safe, so don’t be one of those idiots I catch on site pulling the safety forward and blasting their mates in the back! 😉 Just in case you’re wondering I have been the victim of this with 40-50mm brads. They don’t hurt much but in the eye would be another matter. I’ve never been hit with a 90mm first fix gun though and don’t intend to be either. I reckon going by watching one of the knuckle dragging neanderthals on site blasting seagulls from 20 metres, it would more than sting! I guess it’s all fun until someones eyes get hit. You’ve been warned!
Here’s a show video of how you can fire this gun, and how accurate it is with an example right next to glass. Using a pin gun is about a steady hand, correct aim, and confidence.
Surreal isn’t it? Here’s two pictures, one zoomed in miles showing the head of a brad, and then the second zoomed out so you can see just how minuscule the making good or damage to timber is from using a cordless nail gun. In fact, when I look at that, I remember searching how to use a cordless nail gun myself and I haven’t looked mack since. The idea of using panels pins and a hammer and punch terrifies me 😀 literally…
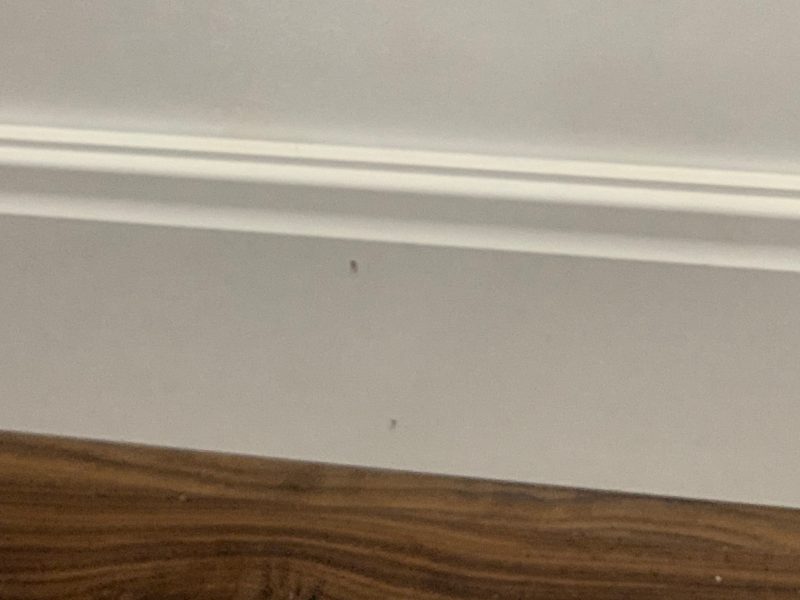
Then a look from a little way:
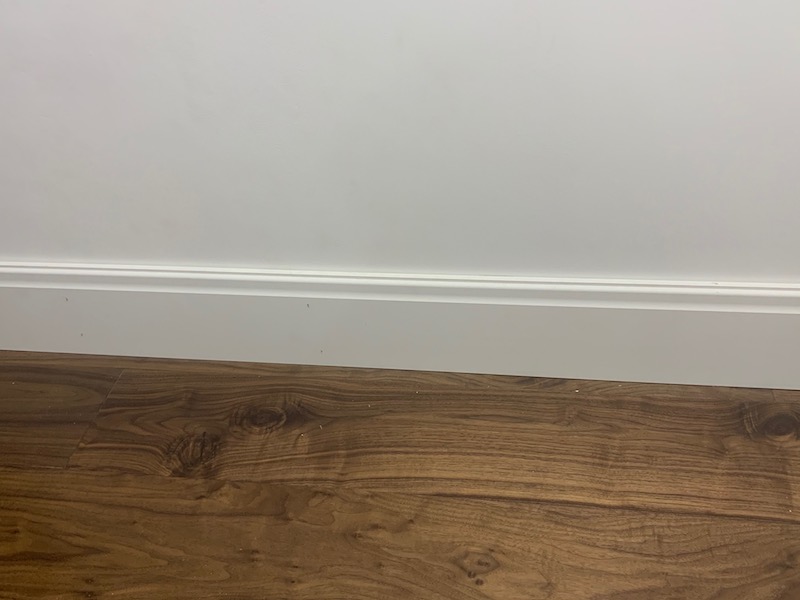
Setting the pin depth
All cordless pin guns, be it Ryobi, DeWalt, Makita, and the others come with an adjustment. I always set my guns to shoot the deepest they can. This generally means that even in hardwood the head will sink just under the timber. No nail punches for me thanks! If the timber is soft you could ease this off, it’s a simple case of unscrewing. The adjustment is very easy to understand, it’s simple a screw on all models I’ve used.
Following this simple guide you’ll dod just fine, keep an eye on safety, don’t put your hand anywhere near where you fire – yes I’ve seen that accident too and it’s not pretty and you’ll be just fine 🙂
Best cordless nail guns and value for money
Most of the Makita 18v batteries are transferable between tools which really makes the bare cordless pin guns a real bargain, these batteries fit the cordless planer, cordless router, cordless jigsaw, cordless chainsaws, and even the cordless pole hedge trimmers so you can get decent value from the best cordless pin guns!
