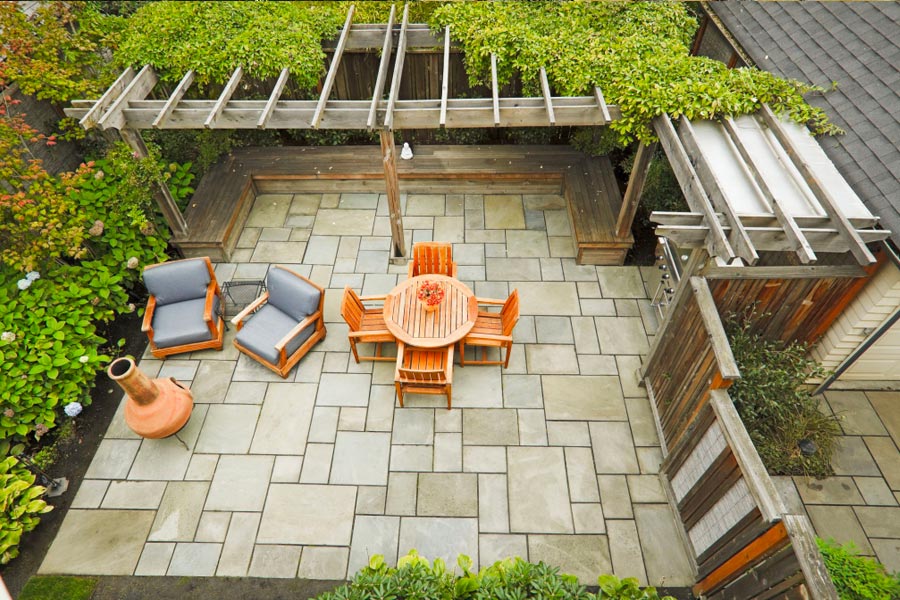
If you like DIY projects and you’ve got a spare weekend or two, why not drag a mate along to help you lay some patio? It will make your garden look a fair bit tidier whilst providing some useful space which requires little maintenance. Sounds great to me! If you can enlist your mates for this, be sure to try to get them to help with the fence as well.
There are a lot of reasons why you might want to get rid of some grass and lay a patio in its place. You may have just got on the property ladder or bought a new house and you aren’t too keen on the current arrangement out back, perhaps you’re planning some landscaping or looking to add some curb appeal with a water feature.
You might have been living in a house for several or more years and you’re just a bit fed up with the back garden looking the same, or it’s overgrown and you’re planning a major overhaul. You might just want somewhere outdoors where you can sit down, chill out and have a barbecue with friends. Others might just hate maintaining grass and prefer to slab over it. Lawn mowers create two problems, firstly you need to use them and secondly they are expensive and break down but still a necessity to keep the lawn in good condition. Whatever your reason, we’ve got the solution!
It doesn’t really matter why you want to lay patio, all that matters is that you know how to do it. And that’s why we’re here today. We’ve put together a quick step-by-step guide on how you can lay your very own patio in the garden that gives you details on pretty much everything you need to know.
Why Shouldn’t I Hire A Professional?
You might be asking yourself, ‘why shouldn’t I hire a professional to do this for me?’ Well, it’s a good question, but give me a minute and I’ll quickly explain to you why you should at the very least try it yourself first, if you’re frugal this is for you.
- It gives you a sense of accomplishment as well as good exercise in the garden. Nothing makes you feel better than doing something yourself that improves your home; especially if your other half doubted you.
- A professional will likely cost you three times as much as it would to do it yourself; maybe more – ring around to get quotes and work out how much your time is worth.
- You’ll know you’ve done the job properly and not cut any corners if you’ve done it yourself.
- You can tell all of your friends how awesome you are every time they sit down outside with you, by telling them you put down the patio they’re standing on!
Obviously if you have no clue about DIY, we don’t recommend this for you as it is quite an intermediate to advanced job. But that doesn’t mean you can’t give it a shot. As the saying goes – you won’t learn unless you try, just remember to be safe.
Required Equipment:
- Spade: You’ve got to dig up the turf from the garden at some point and you’ll certainly need a good spade for the job.
- Wheelbarrow: There’s a lot of waste and material to transport during this project and a wheelbarrow will save you both time and effort. Two will come in handy if you have a friend helping out.
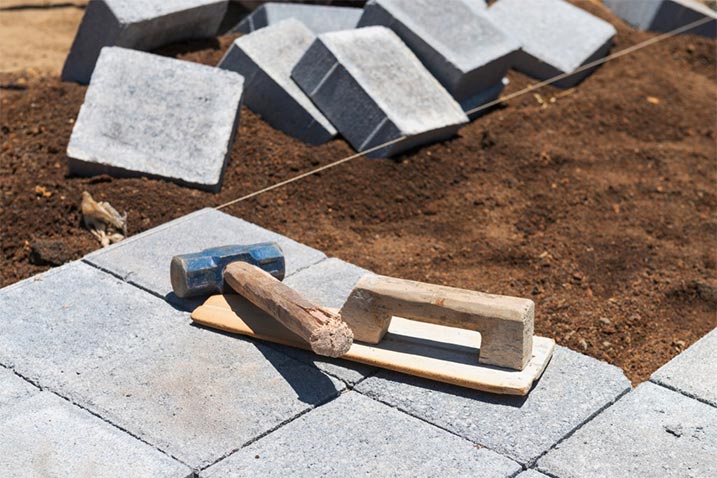
- Lump hammer: Used to tap the slabs into place once you’ve lay them down. A rubber mallet will also do the trick.
- Hardcore: You need a base for your slabs to go onto and hardcore is the most obvious choice unless you have specific requirements that need something else.
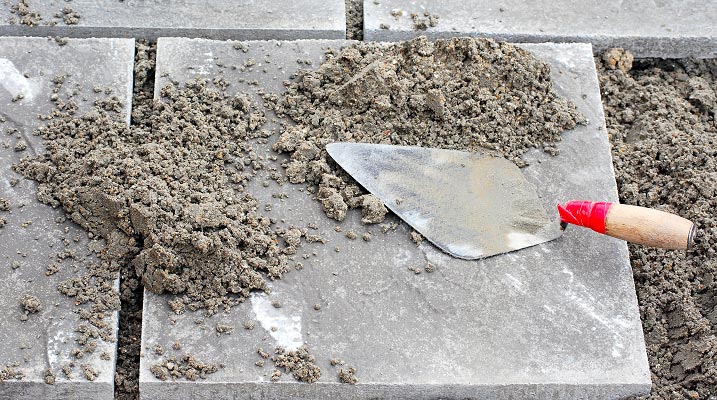
- Mortar mix: Get your hands on some ready-made mortar mix (or make your own with building sand and cement). The amount you need will depend upon the size of the patio, as you’ll need to put down a bed of mortar and fill the gaps in between the slabs.
- Vibrating plate compactor: Used for compacting your hardcore base to ensure a solid foundation for your patio. You probably won’t have one of these lying around so it’s best to hire one for the day.
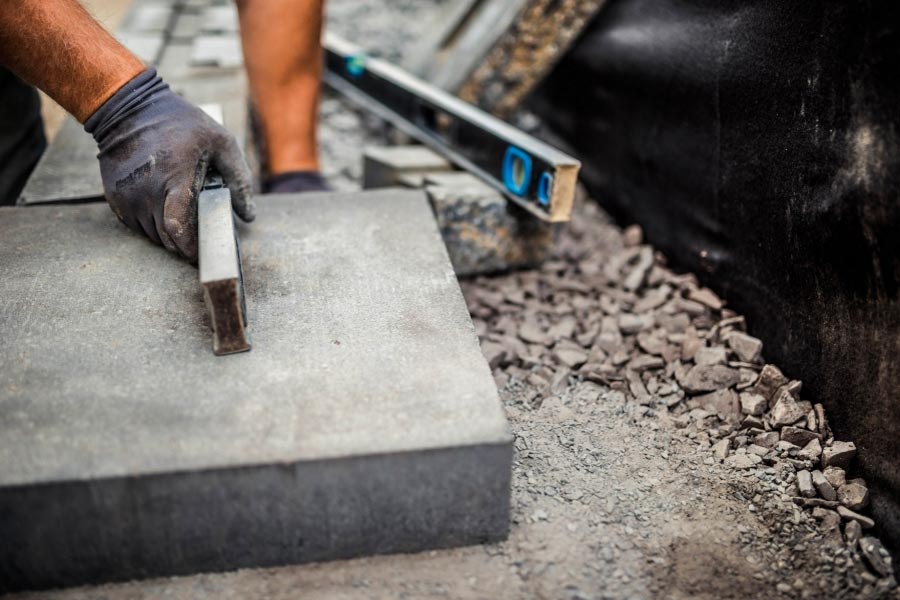
- Spirit level: You will need to know at all times if your patio is looking level or sloped; so an accurate spirit level should do the trick.
- Wooden pegs & string: These will be used in conjunction with one another to create an outline for the edge of the patio. Wooden pegs will also be used as a measuring depth gauge when adding hardcore.
- Paving slabs: What’s the point in going to all this work if you don’t have any paving slabs to lay down for your patio? Make sure you order the right amount for the area of your patio.
- A mate & muscle: Doing this job alone is a fair bit of effort and having a friend lend a hand will certainly save you some serious time. It also requires a fair bit of muscle as you’ll be lugging around a lot of stuff which weighs quite a lot; if you’re on the skinnier side, just consider it a good workout!

Cost, Budget & Time:
We’ve outlined what you need above. Make sure you have all of the basic essentials; wheelbarrow, spade, lump hammer and so on. If you don’t have your own, see if you can borrow them from a friend for the weekend; otherwise you’ll have to incorporate the cost of these into your budget.
Slabs will cost anything from £15 per metre squared (p/m²) so factor this into the size of your planned patio. Realistically for an average sized patio of 3x3m you’ll probably be looking at a budget of £200 or more for everything, including the day hire of a vibrating plate compactor. You’ll probably want a pressure washer to clean your patio as time passes.
As well as the actual expense of this work, you also need to budget enough of your time to allow for completion. You’ve got to take into account all of the manual labour, drying time and the sourcing of all the equipment. The labour itself is likely to take you an entire weekend and drying will also take 24-48 hours; the longer you can leave it the better. Ideally you’d get the majority of the work done one weekend, allow it to set and then add the finishing touches the following weekend. To save time in sourcing, most equipment and essentials can be sourced online, we offer most of this equipment in our online gardening shop, delivered to your door; but obviously if you have a large DIY store local to you, this may be a quicker option.
Planning & Preparation:
All successful projects start with a lot of planning and this is no different. You need to make sure you have your plans laid out in a simple fashion which you can understand and reference during the work and why not get creative? What’s a patio without well organised plant pots and troughs, you can always consider hanging baskets and some vertical gardening too. We strongly recommend that you draw up a quick sketch of your garden and house boundaries; either use a piece of paper or software – whichever you’re most comfortable with. From this point you can easily address which parts you want to turn into a patio and work out measurements. Look into keeping the patio safe for your children, design it accordingly.
Don’t forget to take into account elevation; small changes in the gradient can cause issues during construction. However, a small angle to the patio will help ensure that drainage is adequate. Make sure that the slope is pointed away from your building and any of your neighbours’ buildings as this can manifest into a problem over a long period of time.
Before going ahead with anything, lay down the perimeter outline of your proposed patio with the wooden pegs and string mentioned earlier. This will give you a full idea of the size of your project and how it will look against your garden/house. It’s also wise to plan patios with right angles and straight edges to avoid extra work such as cutting slabs.

Ready to Start:
Now you’ve got all of the planning and preparation sorted; have a quick double check that you have all of the necessary hand tools and essentials to get started and then you can follow the step-by-step guide below. Remember, take it slow and make sure you’re as thorough as possible to prevent having to redo any work at a later date. If you’re in doubt about anything at all, consult a professional or someone who is well adept to DIY and seek advice before continuing.
Step One: Grab your spade and begin digging up the turf in the area you’ve laid out using pegs and string. I really rate an edging tool for neat and straight cuts. You can either dig up all of the turf, or cut lines in it and roll it up; people prefer different methods. Either way, you’ll want ensure there is a depth of roughly 15-20cm to allow for hardcore, mortar and slabs. Please note; if you’re laying patio against the house, make sure that your slabs are 15cm (or more) below the damp-proof course.
Step Two: Time to put all the hardcore down. But first, grab a few of your wooden pegs, measure 10cm and put marks on them; these will act as depth markers for the hardcore. 10cm is usually enough for most applications. Dig the pegs into the ground and begin putting down the hardcore layer. Remember that you want to create a very gentle slope in order to drain water away from the buildings; this can be done by using your spirit level and pegs. An average amount of drop per metre of patio is around 1cm. Therefore, if your patio is 3m long, you should have 13cm of hardcore at one end and 10cm at the other end to ensure adequate drainage; don’t go below the recommended amount of hardcore. Now use your hired vibrating plate to compact the hardcore down; this should give you a firm base. Some people decide to cover this layer with sharp sand, but it’s not strictly required. It needs to be good as you’ll probably want to put a water butt there too and that’ll be heavy full. So pay attention to footings.
Step Three: Put your slabs in the positions you’ve planned to lay them out. This will make sure that you’re confident and happy with how it will look. If for some reason you decide this isn’t what you want, stop immediately and re-evaluate the design based on where you’re at now. However, if you’re happy, carry on.
Step Four: Using your ready-made mortar mix (or a combination of five parts building sand to one part cement), put down a layer roughly 3-5cm thick and make sure to allow for the slope. Adding more mortar up to 8cm will be fine.
Step Five: Place the first slab gently on top of the mortar you’ve just put down. We also advise to start from nearest the building and work away from the house (or downhill); wetting the back of a slab will also help it to stick and position correctly first time around. After it has been positioned, gently tap the slab using your lump hammer or rubber mallet. It’s a good idea to use a block of wood as a buffer to ensure no damage occurs to the slab. Use your spirit level to ensure the slab is level and fill in any gaps underneath with mortar; then continue onto the next one. Knee pads will really help.
Step Six: This is simply a case of rinse and repeat. Continue to add slabs, making sure there’s a 1cm gap between each and repeatedly check to ensure slabs are level whilst also taking into account the gentle slope. Remember, do not step on slabs which have just been put down!
Step Seven: We strongly recommend you wait at least 2-3 days before walking on the slabs or filling the joints. If they’re damp from rain or it looks as if the heavens are about to open up, wait until a drier, sunnier day. Now you can finish up the joints by filling the gaps with your ready-made mix of mortar (or 3 parts building sand & 1 part cement). Continually compact the mortar into the gap using your trowel and then add more mortar to ensure a tight compact finish with no holes.
Step Eight: Before adding water to the mix, remove all excess mortar on the slabs. Make sure you do a thorough job as it’s easy to miss bits. After this is done take a watering can and gently pour it over the whole surface of the patio to wet the mix; then leave it to set.

Give it a couple of days, then stand back and admire your work. If everything has gone to plan, you should have a stunning new patio area for your family and friends to enjoy!
