Now that you’ve done most of the repairs in your garden that you’d been meaning to do over the summer months but had never quite got round to, the raised flower beds are tidier than they’ve been all year – not to mention nicely spread with mulch – it’s time to focus on the seeds. Hopefully you grabbed plenty of free seeds last year too!

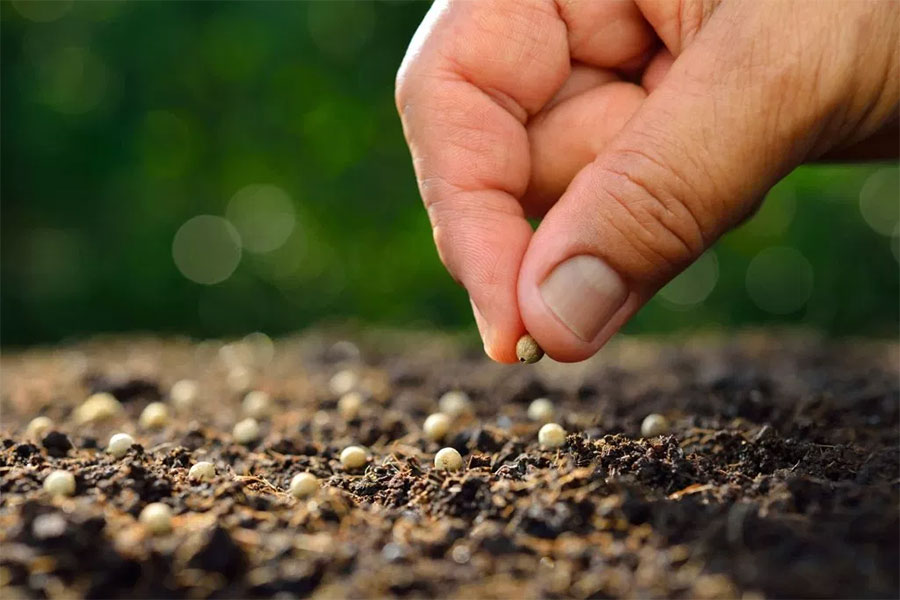
Yes, the seeds, and we mean the seeds from plants in your garden such as poppies and hollyhocks, bulbs and even hazelnuts and shrubs. By cleaning and preserving the seeds from your favourite plants you’ll be able to grow more next year or, better still, swap them with a neighbour or fellow gardening enthusiast to allow you to grow new plants you’ve never introduced to the garden before.
But the best bit about collecting, drying and sowing dry seeds (especially on a comfy workbench with nice trays) is that it allows you to grow more plants next year at absolutely no cost whatsoever to yourself (which is not a bad thing in these recessionary times, we’re sure you’ll agree).
After cutting the seeds from the plant wash them under the tap and dry with several sheets of kitchen paper. Use decent secateurs or a sharp knife. Make sure the seeds are thoroughly dry before storing to ensure no mould accumulates. The best place to store them is in an envelope (which allows you to write the name of the seeds and the date cleaned) then put them in a little-used corner of the fridge for germination and where they will survive for several years (if your other half doesn’t throw them out by mistake!).
Tips on collecting gardening seeds
- Do it in autumn – on a day where there is very little wind (you don’t want your carefully collected little piles to blow away). This is a job I would try to get done in October, mainly because there’s so much to do in November preparing the garden for spring and summer next year.
- Disease-free plants only should be used – cut off the plant’s head, turn it upside down and shake into a paper bag until the seeds fall off
- Drying off – it’s important to remember that some seeds, such as walnuts and magnolias shouldn’t be allowed to dry out otherwise they won’t germinate. These seeds should instead be stored in a moist bag of sand and damp vermiculite for a few months. It’s generally not worth buying a whole sandbag unless you have a serious garden or many many seeds. Instead borrow a little from the neighbour, taking a handful from the beach would technically not be right to do!
- Disappointment – try not to be overly-optimistic. Not all plants will produce seeds and it’s a sure bet that not every single seed will survive. The more you store and germinate in tray the following year, the better chances you have. Remember the condition of the compost will also factor in the germination process. Have you checked your compost bin lately?
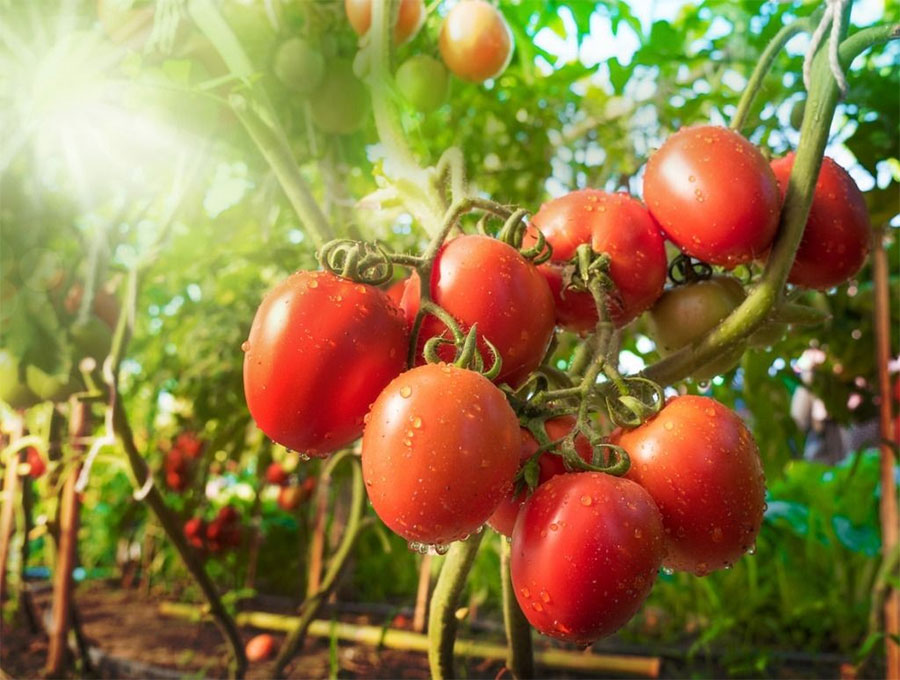
Tomatoes in particular are a good plant for seeding, simply because it’s so easy to do. To prepare, cut open a ripened tomato by slicing it in the middle into two clean pieces. Squeeze out the juice and seeds onto a plate or bowl.
Next, pour in half as much water and keep covered for a few days, stirring the mixture occasionally until mould begins to form on the top.
Now double the mixture and stir. The seeds you want to use are the ones which fall to the bottom of the bowl. Get a strainer or sieve and pour the mixture through so that only the seeds remain. Wash them and dry with a paper towel then place on a saucer and leave them to dry. Place in your envelope and store until next year, you’ll be ready for planting in no time.
There you have it, free seeds, and if you’re part of a community simply swap to share the enjoyment and diversity.
