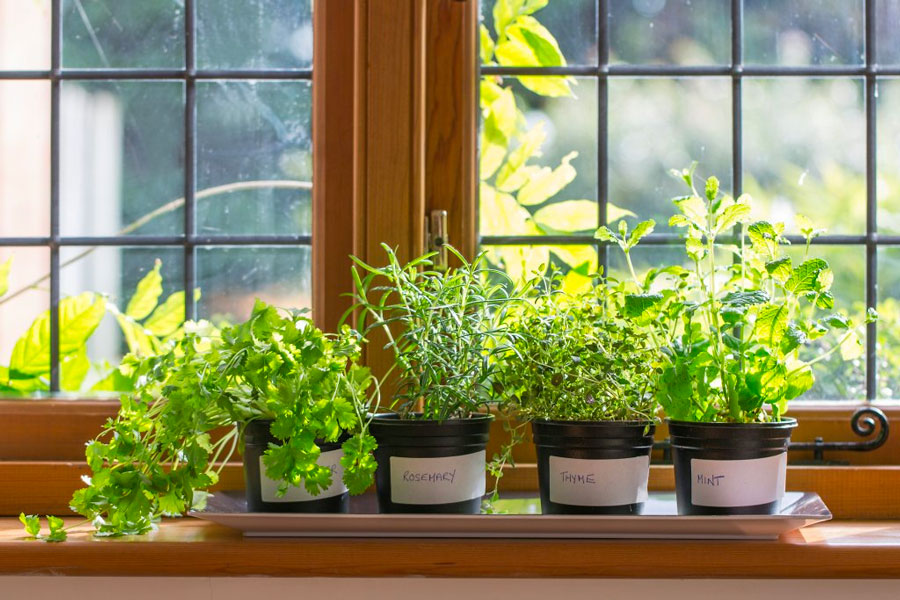
As someone who likes to think they can cook – although the other half might not agree with me on that one – I’m well aware that herbs can be the basis for great cooking. If you’ve ever sampled the delight of cheese and tomato on toast with fresh basil then you’ll know exactly what I mean. But herbs aren’t just great for helping feed the belly; they’ve also been the basis of a lot of complementary medicines and cures for thousands of years. In conclusion; herbs are pretty great, right?
One way to take advantage of all the benefits that herbs have to offer is to start planting them in the garden. However, we don’t all have the luxury of owning a big garden with enough space to start a kitchen garden, although it’s fair to say that you don’t actually need that much space if you just want to grow a few herbs. That said, a smaller space means that it’s always going to be a toss-up between planting those beautiful flowers you’ve had your eye on in your local gardening store or planting things that actually have practical applications. Thankfully you don’t have to worry about finding space in your garden – whether you have one or not – as you can start growing herbs in your kitchen instead.
Why the Kitchen?
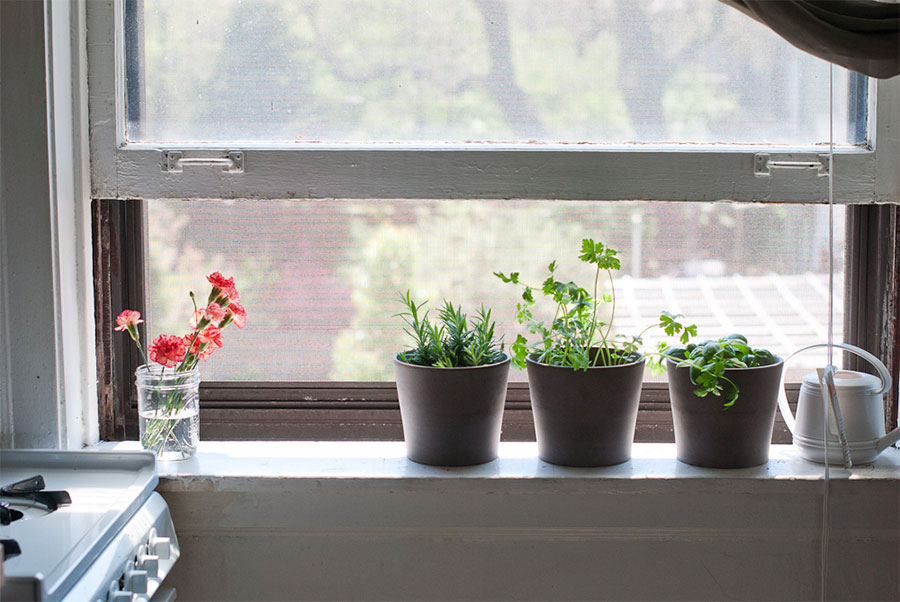
Well, for starters it’s where you’re going to be using the herbs you grow, so you may as well make the task a little easier. Secondly, you probably don’t want a bunch of growing herbs messing up the design of your living room. It’s not that it looks horrible; it’s just that maybe it isn’t the right place for them to be. The kitchen windowsill is the perfect place, as long as you make sure it gets plenty of sun for the herbs to thrive on. Finally, you’ll also get – depending on the type of herb – a lovely aroma to greet you in the kitchen on a daily basis.
Another great thing about growing your herbs indoors is that you can continue to grow them in the winter; long after the frost has descended and other plants have retreated to the less harsh environment below the soil. As long as the herbs continue to get enough sun, they showed become healthy and lush quite easily. Herb gardening isn’t difficult to do, and the vast majority of herb plants will grow easily when planted in indoor containers. They also don’t need a great deal of care and attention, and you don’t have to put up with those outdoor pests and predators munching on your precious crops. Next I’ll talk about how to go about planting and maintaining them, before introducing you to the best herbs for indoor kitchen growing.
Planting Herbs Indoors
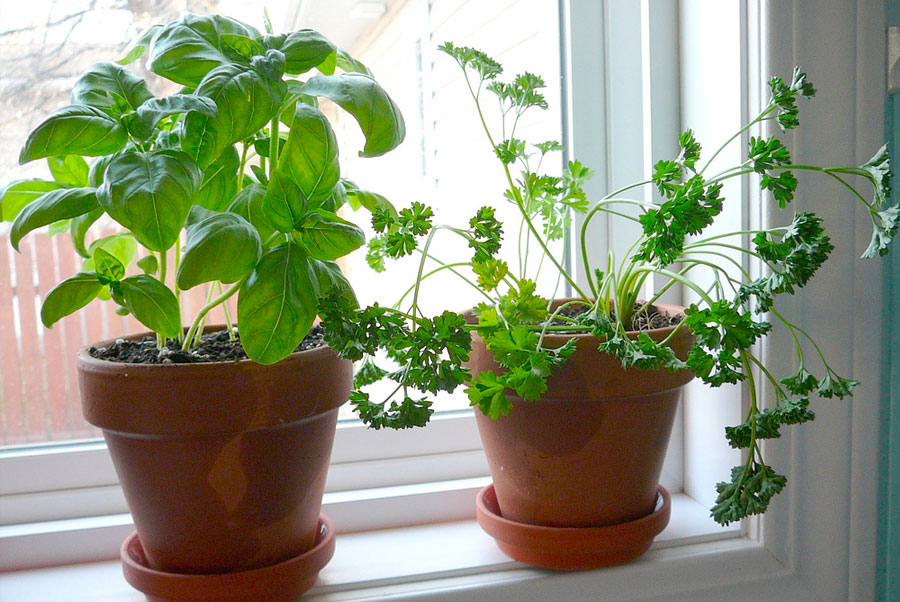
Follow the directions below and you should have your kitchen herb garden up and running within no time.
1. As already mentioned you want to find yourself a sunny windowsill. A windowsill that faces south or southwest is ideal, and it needs to be giving your herbs at least 6 hours of sun every day. You’ll know when your herbs aren’t getting enough sun by their thin and stressed appearance, plus they won’t taste nice either. If you can’t get your herbs enough sun then you’ll need to buy a plant light instead to spur on growth.
2. If you haven’t got some already then you need to get some seeds or herb plants. You’ll quickly find that it’s a lot cheaper to start growth from a seed rather. However, they do require more attention and it will be a few months before you’ll get the benefits of nice healthy herbs. See below for my picks of the best herbs to grow indoors.
3. The beauty of using seeds instead of plants is that they don’t require a large pot in which to grow in. You only need a small container as, when they’ve grown to around 2-4 inches tall, they can then be moved to a final, larger pot. If you are starting with plants instead then you’ll need to get hold of a container that’s at least 6-12 inches deep. The wider or longer your container is, the more herbs you can plant. If you want to plant the plant herbs individually then you’ll need at least a 6 inch pot. Whether you start with seeds or plants, make sure that every container used has plenty of drainage holes. Because we’re growing indoors you’ll want to place a saucer underneath so it won’t ruin whatever indoor surface your herb garden is sitting on.
4. You’d think that you can just bring in soil from the garden to place in your indoor pots, but I wouldn’t recommend doing that. Firstly, you could bring bacteria and bugs that thrive in outdoor soil indoors. Secondly, garden soil tends to be quite heavy and will become more compact after a few waterings. Outside the drainage would be improved through tilling or earthworms, but indoors you can’t do that. Instead use a soilless mix to fill up your pots. It’s lighter, free of contamination and is better at water retention. In the next point I’ll talk about how to use this mix with plants, and after that I’ll talk about seeds.
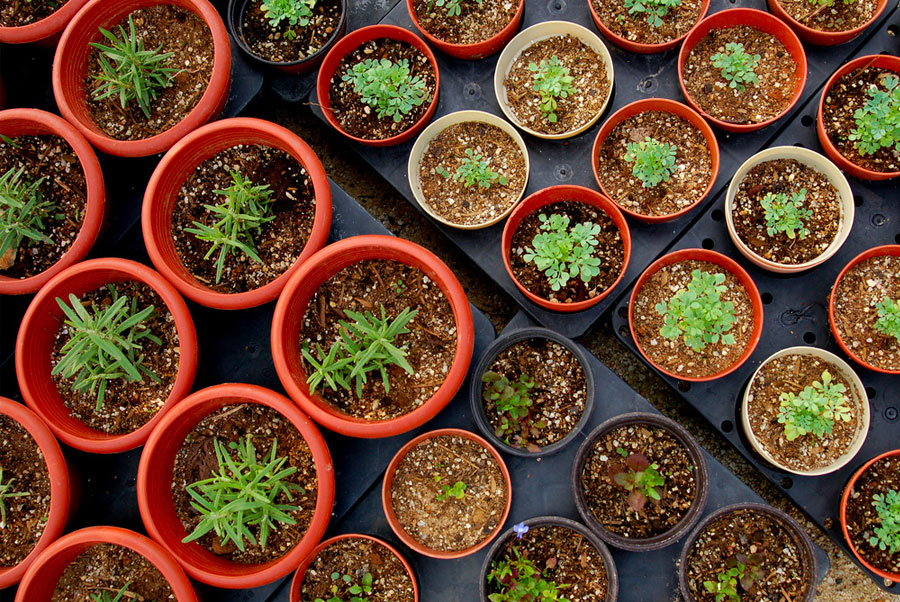
5. For plants: Put a 2-3 inch layer of the mix into the bottom of the pot or container. Next, carefully remove the plant you want to transfer from the pot it’s in. Make sure you loosen up the roots by roughening up the ball with your fingers a little. However, sometimes you may need to prune the roots a little first. Place the plant into the container with the roots flared out, before filling in the rest of the mix and firming the mix gently around the plants. Ensure there’s an inch spare at the time for when you come to water.
6. For seeds: Dampen the mix slightly and fill up your container, leaving an inch at the top. Scatter 3-5 seeds on top of the soil before covering the seeds with a light layer of mix, patting it down gently. Finally, cover it with a plastic bag to keep the moisture in.Water the soil with seeds in regularly to keep it moist. Eventually you should see the seedlings start to grow and push their way out of the soil. Remove the plastic bag and continue regularly watering when the soil becomes dry. As already stated, they need plenty of sun and you should also rotate the containers so they grow straight.
7. For plants, don’t over-water them, but do water them until excess water drains out of the drainage holes. Herbs don’t grow great in wet soil, and you should regularly drain any excess water that has collected in the saucers. One thing to remember is that indoor plants will dry out quicker if you’ve got the central heating on in home, even if it’s deadly cold outside, so ensure you take that into account when you water them. A nice looking indoor plant pot and water gel will go a long way.
8. Herbs should be fed via fertiliser that can be used with edible plants. It’s important you don’t mix that up. Use about ½ of the recommend strength to begin with; gradually increasing the amount if the plants seem to be struggling with growth. If they’re shooting up fast then do the opposite and lessen the amount. The plants will also require less fertiliser during the winter months.
Now we’ve learned how to grow and look after indoor herbs, let’s move on to the best herbs to use.
The Best Indoor Herbs to Grow
There are plenty of herbs out there that are going to add that extra kick to your meals, or aid with you their medicinal properties, but there are some herbs that are particularly more suited to indoor growing than others. Here are the herbs you should try growing on your kitchen windowsill from today!
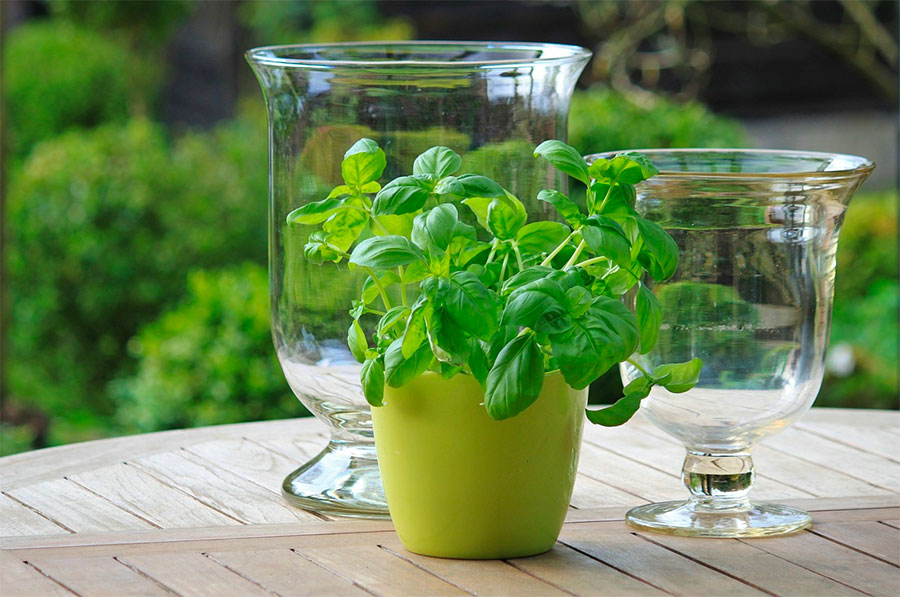
Basil
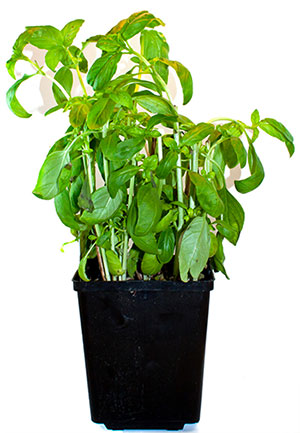 If you’ve even the slightest interest in the culinary world then you’ll know that basil is used quite a lot in food. You can use it in sauces, soups, salads, sandwiches, teamed with tomatoes – the list is practically endless!
How to care for it: You should start growing basil directly from seeds, with the pot placed at a south-facing window that gets plenty of sun and warmth. It doesn’t like the temperature to get too cold, so you definitely need to make sure it’s getting enough warmth from the sun. You should also give basil plenty of space for better air circulation, so don’t crowd it with other herbs sitting right next to it.
When watering, make sure you don’t get the leaves too wet. Let the soil dry out a bit between watering, although obviously water before any signs of wilting. As basil grows to about 6 inches tall you should pinch it back to spur on a full and bushier growth. Do this regularly, as well as harvesting what you want, to ensure that you get the most out of the herb. Be sure not to let basil flower as it will result in a bitter taste.
Parsley
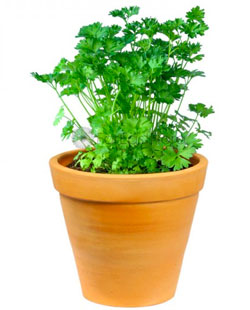 Another regularly used herb in cooking, but it’s also great for keeping your breath sweet! It can go into a huge variety of dishes, with a mild flavour that makes it perfect for boosting the impact of other flavours in the meal. Flat-leaf parsley is preferred for cooking, while curly parsley is best used as a garnish. Particular foods to use parsley in are steaks, fish, chicken, roasted lamb and vegetable dishes.
How to care for it: Parsley is extremely easy to grow, although for best results you should buy seedlings as growing from the seed will result in a longer waiting period while they germinate. It prefers to be grown in full sun, although it will still grow well in a partially shaded area in an east or west-facing window. It’s not as fussy about temperature as with basil, as outside it can survive frosty days. Keep using the herb, via harvesting by snipping off the base of the stem, and you’ll be rewarded with plenty as the growth quickly returns. Parsley can return for two years, although some people think that the taste gets a bit bitterer in the second year.
Mint
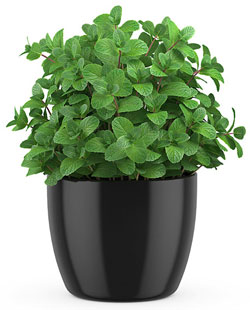 I particularly love mint because of mint tea; it’s incredibly simple to make too! It’s a versatile herb that creates plenty of opportunities for yummy cooking recipes, both sweet and savory. Lamb is a particularly good meat in which to team it with, and it works well as part of a salad too. Spearmint is the most widely used when it comes to cooking.
How to care for it: Mint is perfect for the pot or container, because out in the garden it can be quite an aggressive plant that can run rampant and take over your garden. Popping it in a pop makes it far easier to control, and as the mint leaf looks so nice too it also works as a decorative planter. It’s very easy to grow, liking full sun but it will still cope with a little shade. It quickly thrives, so you need to keep pinching it back to ensure it stays under control. Check which type of mint you’re planting too; spearmint can be leggy and tall, while others are low spreaders.
Rosemary
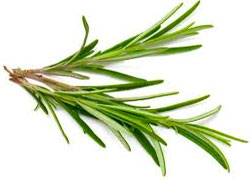 An aromatic herb with a beautiful scent, rosemary helps improve the flavour of roast meat and fish. It also looks stunning too, so it’s another herb that also works as a decorative indoor plant. Its needle-shaped leaves hold a lemon-pine flavour that goes great with garlic, olive oil and meat like roasted lamb. It’s a strong flavour though, so try to only use a smattering when adding it to soups and other dishes.
How to care for it: Again, rosemary needs full sun and it’s best situated at a south-facing window. You can start it off with a cutting, growing it in a moist soilless mix and letting it dry out a little bit between periods of watering (but not completely).
Oregano
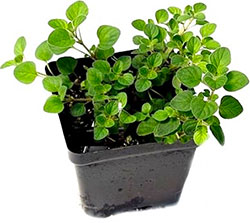 Oregano is a herb that goes particularly well with salads, pizza, tomato sauces, seafood dishes and more. It has a powerful taste so, again, don’t go overboard with it.
How to care for it: Oregano is ideal for container gardening, as long as you give it plenty of sun and hold back on giving too much water and fertiliser. It requires regular maintenance, picking the leaves to prevent it from blooming. It’s a perennial plant so you’ll be getting years of benefit from it, and it also works well in mixed containers with other plants.
Sage
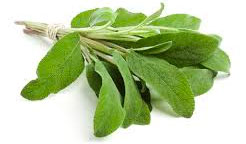 Frequently used in Mediterranean cooking, sage has a musty flavour that is similar to the likes of lemon, mint and eucalyptus. It works well with veal, cured meats, pork, sausages, turkey and as a dressing. Don’t use too much though, as the flavour can outweigh all the other flavours in a dish.
How to care for it: The easiest way to start an indoor sage plant is to take a cutting from one already outside. Inside it grows fine in dry air, but it does require strong sun so try to place it in a south-facing window.
Chives
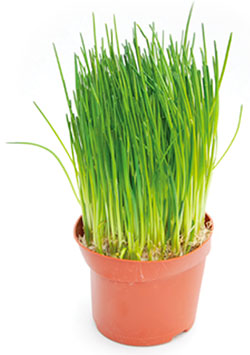 Chives have an onion flavour to them (cheese and chive anyone?). You’ll get the maximum flavour out of them when they’re thinly slices, while they can act as a garnish when finely sliced. Be careful not to overcook chives as the heat will destroy their flavour. Use them in dips and with potatoes.
How to care for them: At the end of the growing season, dig up a clump of chives in your garden and place them in a pot (that’s if you do have some in your garden, of course). Leave this pot outside and bring it in when you’ve noticed the leaves have died back. Move the pot inside during the early winter and leave it in a cool spot for a few days, before eventually transferring it to a window that gets plenty of sun.
Bay
How to care for them: Bay is a perennial plant, and it will continue to grow well in containers all year-round. Don’t crowd it with other plants as it requires good air circulation, and make sure it has enough sun by placing it in an east or west-facing window.
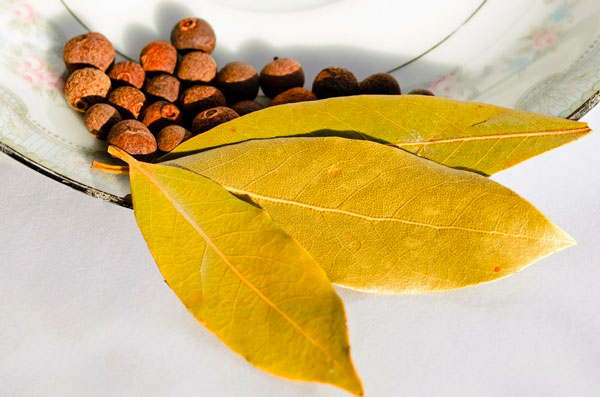
Bay leaf has a bitter sweet, spicy taste that mixes with a variety of ingredients. It also doesn’t lose its flavour when dried, unlike many other herbs. Bay leaf goes well with fish, vegetables, soups and lamb.
Is There Anything Else I Should Know?
Here are a few extra tips to really get the most out of your indoor herb growing.
- If you don’t have access to natural light, or your windows are facing completely the wrong way to get the full benefit of the sun, then using a fluorescent light is your next port of call. They need to be pretty close to the plants in question and remain on for about 10 hours a day.
- Remember to regularly snip your plants to encourage new growth, which will lead to your herbs being busy and plentiful. You can start using the herbs once they grow to above 6 inches tall. Just remember that the more you snip them the more you’ll get!
- Don’t trim off more than 1/3 of the plant, as over-pruning will stress the plant and stunt its growth.
- Every year you should start new seeds of the herbs you want to keep. As there are plenty of herbs that are only annual growths, they will need to eventually be replaced. You don’t want to be left with gaps while you wait for the new herbs to grow, so start the new seeds before the old plants die out.
And that’s about it for this lengthy guide. I hope you’ve learned everything you need to know about growing indoor herbs in the kitchen, but if there’s anything extra you want to know about the process then please feel free to ask me in the comments.
One thing is for sure though: once you start growing fresh herbs in your kitchen, you’ll never go back to store-bought dried herbs again!
